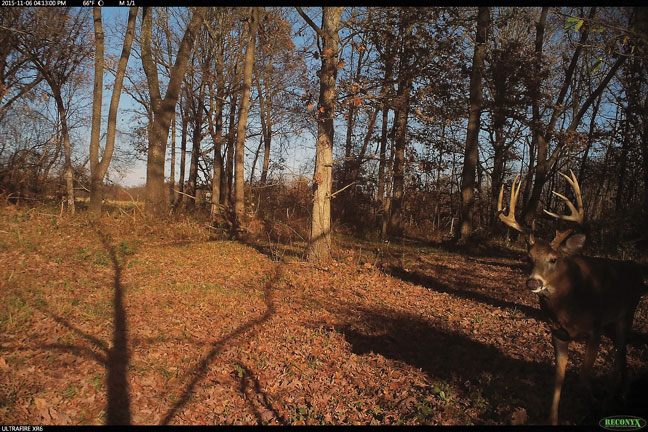
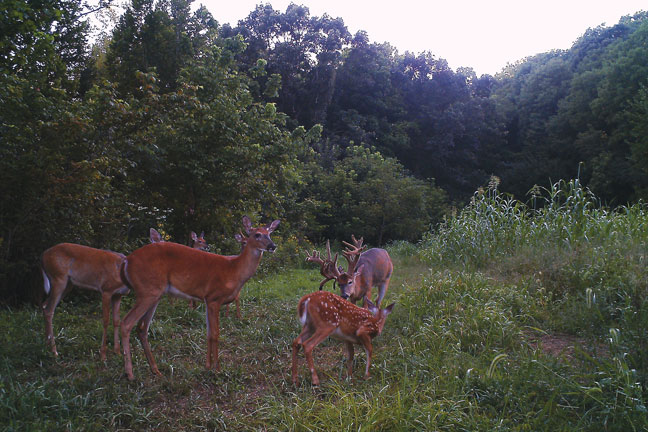
I was flat-out thrilled. I’d been watching the does and the 140-inch 3 1/2-year-old buck for the past half-hour. Just as my trail camera had predicted, the 4 1/2-year-old 9-pointer was now stepping into the Antler King Trophy Clover plot.
The younger buck wore nearly 10 inches more antler, but the older deer was the one I wanted. With shotgun in hand and more than a half-hour of Illinois’ first shotgun season remaining, all I needed was for the 4 1/2 to feed into range. I was confident the candy crop of brassicas would inspire him to do just that.

Sure enough, under five anxious minutes later, the 9-pointer gave me my chance. Taking a jagged, deep breath, I focused on a spot, began a slow exhale and squeezed off the shot. The younger buck watched his elder run a short loop in the plot and fold, never even breaking for the timber himself.
My method for running Reconyx trail cameras had again revealed exactly what I needed to do to fill another tag. Equally important, it had helped keep the deer oblivious to my hunting presence. Any doubt of the value of this could be seen clearly in the willingness of both of those bucks to enter a wide-open field to feed three days into firearms season, despite being within 200 yards of the road that made up the line separating this property from the orange army on the other side.
To further reveal the value of that, about 23 hours later I arrowed an ancient buck on the same property. I filled both of these tags on natural buck movement, hunting on open food sources, with the sound of gunshots still ringing in their ears.
POSITIVES WITHOUT NEGATIVES
Training deer to feel safe is one of the greatest advantages hunters who control their hunting land can achieve. At the same time, scouting cameras can offer tremendous advantages in both alerting us to the bucks present and in revealing patterns we can capitalize on. The catch is that many people actually do more to educate deer when running cameras than when hunting.
How can we get the maximum benefits from cameras while minimizing the negatives? Here’s what works for me.
DO NO EVIL
Hopefully, even the most successful readers will step back for a moment and honestly reflect on how they’re running their cameras. Are you getting photos of bucks that are practically turning inside out when the camera goes off?
When checking cameras, are you supremely confident you aren’t spooking deer? Are you taking steps to control human odor? Is wind direction factored into when you run cameras within a couple hundred yards of where deer might be at the time?
If you don’t like all of your answers to these questions, I hope it makes you feel better to know you’re in great company.
Almost every camera article covers the need to minimize disturbances when setting, running and pulling cameras. The catch is that statement alone really says next to nothing. To me, minimizing disturbances when running cameras means deer can’t see, hear or smell you while you’re on the property. Frankly, it’s just as bad if the camera is in a “low impact” location but you’re busting deer getting to/from the setup.
On the flip side, every year I place cameras on the doorsteps of doe bedding areas. These are potentially very high-impact locations. However, by timing camera checks for late morning, when I have a very stiff, noise-covering wind blowing into my face and an area I don’t expect to be currently holding deer, as well as only going in a handful of times, I feel perfectly safe doing that.
Although it’s a great idea to go as nuts on odor control when running cameras as when hunting, I’d be lying if I said I routinely do that. I have and will on occasion, but that’s always when I’m pushing my camera placement farther than I should. However, wearing rubber boots, carbon-impregnated or cotton gloves sprayed with odor neutralizer, and clothes washed in a hypoallergenic detergent is something I do religiously.

The right setup can catch bucks moving in daylight in small plots, even if they’re not using main fields then. Photo courtesy of Steve Bartylla
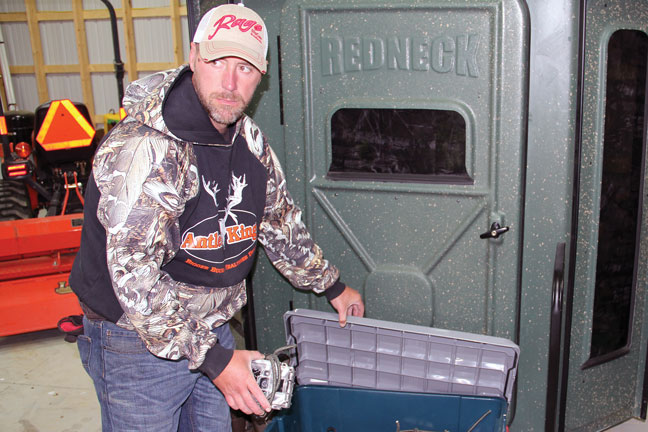
At the same time, treat cameras for odors before putting them out. And store them in sealed containers when not in use. A camera that’s been sitting in the garage stinks. You wouldn’t consider tossing dirty, sweat-soaked shirts around your stand, so don’t use stinky cameras (or straps), either.
Next, it’s generally a good idea to limit camera checks to once every two to three weeks. Except in extremely low-impact setups, the most frequently you should swap cards is every other week. It’s also a good idea to time doing so for late morning to early afternoon, as that’s generally when deer are least active. Remember: Every time we’re running around our hunting grounds, we risk leaving tattletale odors and disturbances to tip off deer to our activities.
Finally, know cameras’ limitations — and get the best you can afford. When it comes to purchasing cams with lower price points, test them in a dark room for noise and visible flash. I’m not going to say visible flash always spooks deer. What I will say is that I’m convinced it has spooked a percentage of the deer I’ve used it on.
Frankly, I believe most deer don’t mind it at all, but it sure is a bummer when the one that freaks out is the buck I want to kill. My experiences also make it crystal clear that a far higher percent of deer are spooked by camera noise than flash. And either place the camera farther out from where deer will likely be or place it high and angle it downward.
You can get away with using just about any camera, as well as sloppy technique, and get photos of most deer. The catch is that many of us aren’t hunting just any deer. We’re after the more elusive few. If you get just one photo or video clip of the buck you’re trying to kill, and he avoids that spot from then on, it’s of little consolation that you managed to get multiple images of lesser deer.
LOW-IMPACT LOCATIONS
You don’t always have to put cameras right where you want to scout. Other spots often can provide valuable intel with less negative impact. This is particularly true for those of us who use habitat improvements to aid our hunting.
For example, let’s say we have a small staging plot planted 50 yards back off a main field. The field is the destination feeding area for deer, but we’re using the staging plot to both increase daylight activity and to give us an easier way to slip in and out of stands undetected when deer are in the larger field.
“…scouting cameras can offer tremendous advantages in both alerting us to the bucks present and in revealing patterns we can capitalize on. The catch is that many people actually do more to educate deer when running cameras than when hunting.”
The temptation is to place a camera right on the staging plot. However, that generally will have a higher negative impact than setting it up on the field edge. So place the camera on the field edge, right where the trail leading to it from the staging plot is. We can even up that spot’s drawing power by “planting” a scrape tree out front of it.
Are we going to get every deer that uses our staging plot every time? No, but we’ll get the vast majority that are hitting it somewhat consistently — and we aren’t disturbing the staging plot at all.
More often than not, we can set up cameras to gather intel on locations by covering either where the deer are coming from or going to, instead of right at the spot we’re most concerned with. When the primary location brings the risk of higher impact, this is a great trick for minimizing disturbance.
SPECIFIC CAMERA SETUPS
Where legal, bait piles and mineral licks obviously are good spots for cameras. Of course, so are water holes, growing forages, funnels and scrapes. What some hunters probably don’t realize is that scrapes aren’t just useful as the rut approaches.
Bucks use the licking branches over some of the best-positioned, most actively used scrapes as communication hubs throughout the year. The deer aren’t typically pawing the dirt or urinating in them all year. They’re mostly just sniffing the overhead branch and depositing odors from saliva and glands on their heads.
That makes “planted” scrape trees in food plots or fields ideal locations to get an inventory of bucks before bow season ever starts. In areas too large to effectively cover with one camera, scrape trees are great tools — particularly if food bait and minerals aren’t legal.

Staying under the herd’s radar involves serious effort to control scent. Store cameras and associated gear accordingly. Photo courtesy of Steve Bartylla
Another trick is making those noisy or flash cams work for you rather than against you. While I’ve had cams like that inspire some deer to avoid them, I’ve never knowingly driven one off a tract through their use. So years ago I started experimenting with using those potentially troublesome cams to my advantage.
They can be particularly helpful on food sources too large to cover with a bow. For example, when a “problem” camera is on the west side of a 60-yard-wide neck in a field, bucks that don’t care for its presence don’t stop using that field — instead, they just gravitate to using the east side more than the west side. This can be a thing of beauty if your stand “happens” to be on that east side.
WHAT TIMING TELLS US
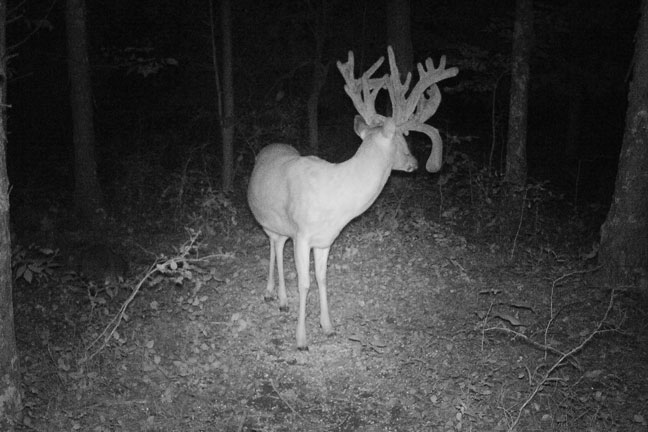
With good camera placement, we generally can document most of the deer using a specific area within a given period. Still, it’s possible to be unlucky in capturing images of a certain buck. He can spend a lot of time on even smaller food sources before getting his picture taken.
This reality is important to keep in mind for timing hunts. Don’t take the recorded time of the shot too literally. If I’m getting a bunch of photos or video clips of a buck I want to hunt and they’re an hour or two after nightfall, I’m moving in on a nearby stand on the first decent to good weather day I can safely hunt there.
It’s amazing how often a buck can burn the last few minutes of shooting light in even a relatively small area without getting his image captured for a half-hour or more.

Finally, when going through photos or videos, pay attention to all of the deer images you’re capturing. As noted, where the animals are coming from and going to can be as important as where a given image was captured. Also, pay attention to when the first deer arrive, so you can plan to beat them to the spot when hunting. Don’t just focus on the buck(s) you want to kill. Gathering intel on all deer in the area can be a difference maker.

